Slacking Around
Communicating across Slack workspaces using cloud functions
I’m now a member of more Slack workspaces than ever before. That got me thinking. Slack has all sort of bot & API features. Just for fun, can we string up an app that lets us talk to a target workspace from a personal one?
Off the bat and for the record, Slack is pretty good about permissions and will only allow your app permission to do actions that your user account still has access to – so if you, hypothetically, were to lose access to one workspace, you can’t follow this post as written to maintain contact with that workspace.
If a coworker sets up the app, however … well that’s a different story. I didn’t say that.
Throughout this post, we’ll be using Google Cloud Functions using a Node.js 8 runtime. We’ll need this for some data translation between the requests originating from one workspace and the other. You can use AWS lambdas or any web server you care to set up if you wish.
Create a Slack app
The first thing you need to do is create a slack app. Head over to https://api.slack.com/apps and click “Create New App”. You’ll need to do this in both workspaces; let’s start with the “target” workspace that we’re going to lose access to.

Incoming Webhooks
The simplest way to send a message into a workspace is set up what slack calls an “Incoming Webook”. We’ll ditch this approach later because of limitations we’ll discuss, but it’s worth noting that incoming webhooks won’t be halted when the app creator loses access.

Click in to this feature and turn it on. Scroll to the bottom and hit “Add New Webhook to Workspace”. You’ll have to select a channel to post to. This is the first limitation – a single webhook can only post to a single channel. If that’s all you need, great! I’ll select a channel I created for this purpose, called “ghost”.
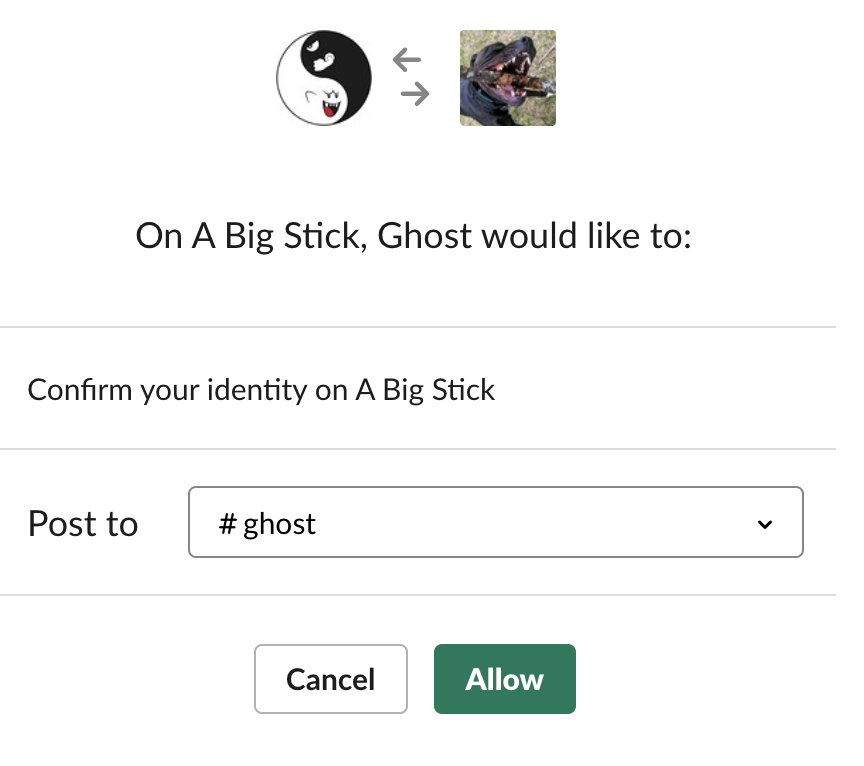
Once you do this, you’ll see an example curl command that will post a message via this webhook. It should look like
curl -X POST -H 'Content-type: application/json' --data '{"text":"Hello, World!"}' https://hooks.slack.com/services/XXXXXX/YYYYYY/ZZZZZZZZZZZZZZZZ
Copy and paste that into a terminal and see the message!
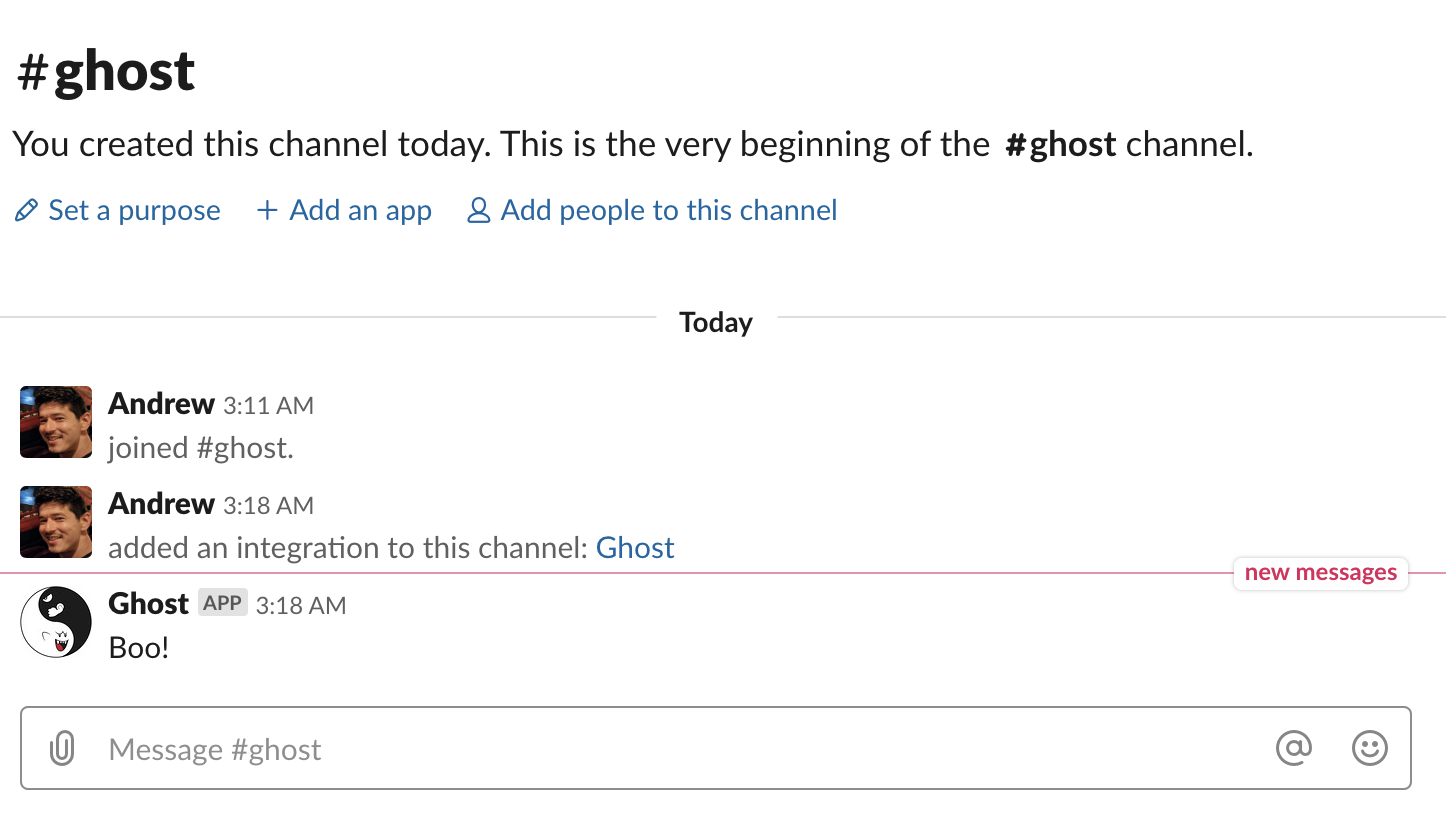
You’ll also notice that Slack announces to the incoming channel that you’ve added an integration.
Talking with Ghosts
Now that we have an incoming webhook, we need a way to trigger it. We’ll create a Slack app in our “hidden” workspace to do so using the webhook we just created and Slack’s “Slash Commands” feature.
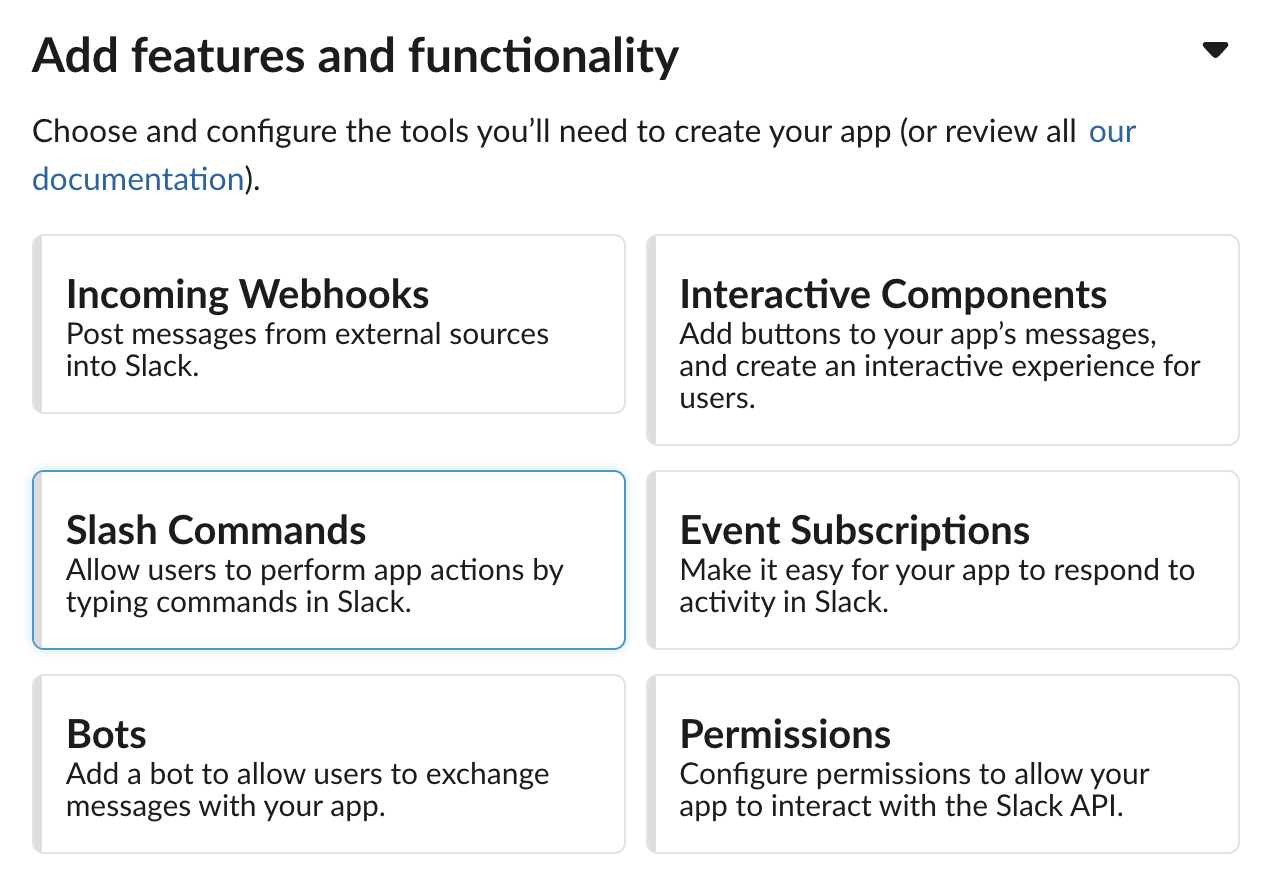
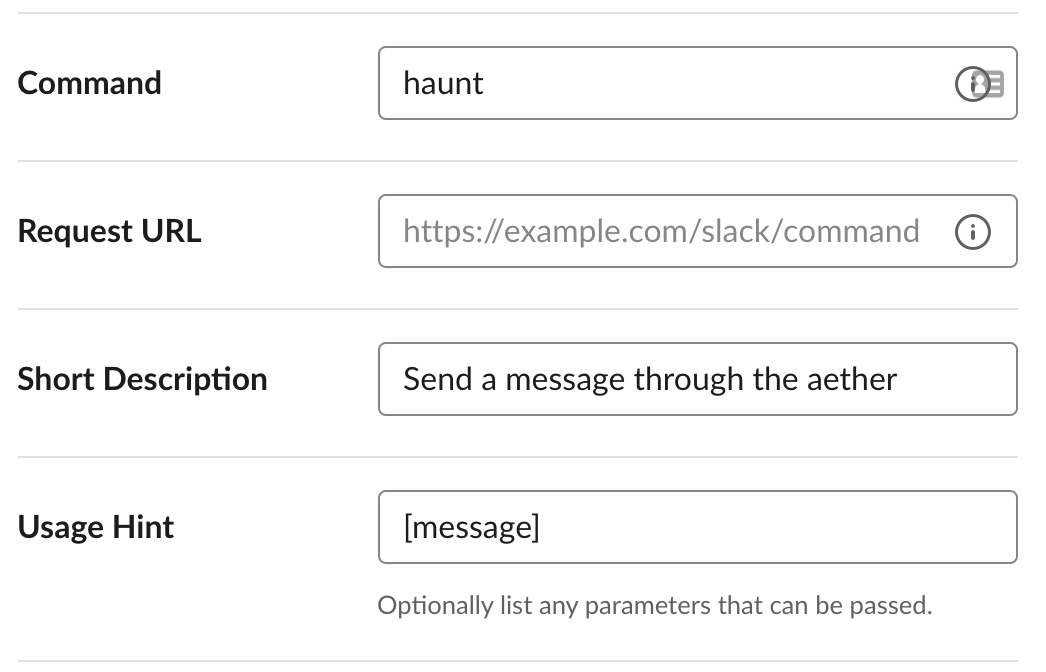
We’ll create a slash command, /haunt that allows us to send messages to the target workspace typing, for example /haunt Hello from the other side!. As we set this up, you’ll notice we need a POST URL to send the slash command data to.
For this we’re going to use Google Cloud Functions. Mostly using default settings, this will set up an http endpoint we can give slack.
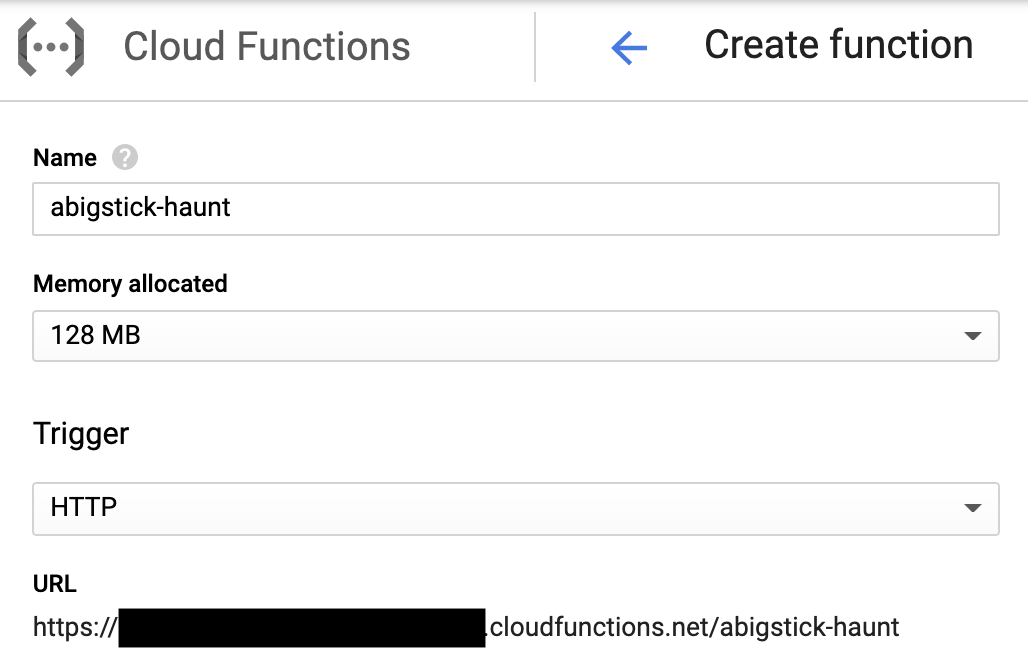
I’m going to use Node.js 8 as the runtime. We’ll start out with the following code to look at what Slack sends us.
exports.haunt = (req, res) => {
  const body = req.body;
  console.log(body)
  res.status(200).send("ok");
};
Note that I’ve changed the default helloWorld function name to haunt. Make sure to change “Function to execute” setting accordingly.
Copy the function’s URL, then hit “Create”. If you forget to copy the URL, you can find it again in the “Triggers” tab. Paste the URL into your Slack slash command.
To trigger this new slash command, we need to install the app. Find “Install App” in the side panel of app.slack.com and hit “Install App to Workspace”. This will bring up an oauth page that grants your app permissions to add slash commands.
With the slash command created, head back into Slack and start typing /haunt. If everything is set up right, you’ll immediately see the help message pop up. Notice that this is for our second app in our personal workspace. I’ve called this second app Haunt instead of Ghost and used a modified version of the icon I used for the Ghost app in the A Big Stick workspace.
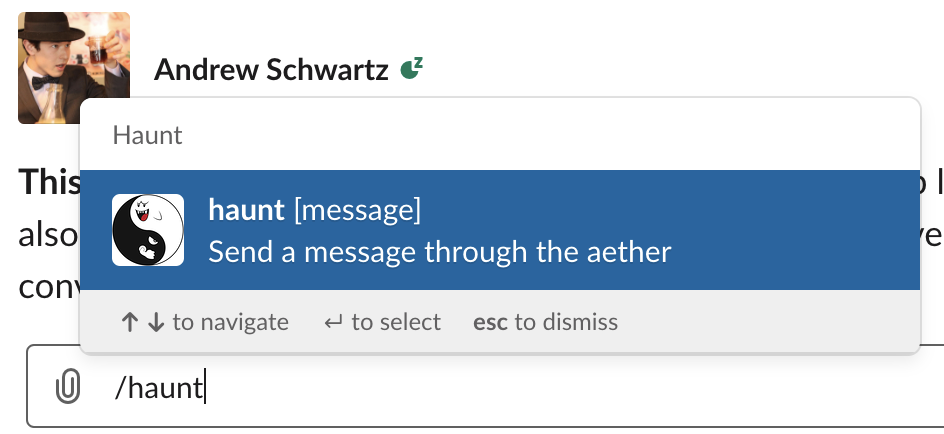
Type in a message and in a short while you’ll get the “ok” response that our Cloud Function returns.

Head back to the cloud function and click “View Logs”. You should see exactly one function execution. If you triggered it multiple times find the appropriate log entry. You’ll see that our console.log statement told us what we’re working with:
{ token: '[---REDACTED---]',
  team_id: '[---REDACTED---]',
  team_domain: '[---REDACTED---]',
  channel_id: '[---REDACTED---]',
  channel_name: 'directmessage',
  user_id: '[---REDACTED---]',
  user_name: '[---REDACTED---]',
  command: '/haunt',
  text: 'Oooooooo!!!',
  response_url: 'https://hooks.slack.com/commands/[---REDACTED---]',
  trigger_id: '760926744263.431810811761.0e7bf2c9fd50d6caa2f5a0e58d620674' }
Pardon the redactions, but I don’t want to make your job spamming my slack any easier. In any case, we have the pieces we need: the user id/name, the text that was sent, and, from before, the incoming web hook URL. Now we just need a way to have our cloud function send a POST request to our incoming webhook and we’ve completed the first part of functionality.
To to the POST, I’m going to install the axios npm library. Click “Edit” on the function and click into package.json and add axios into the package dependencies. The final result will look something like
{
  "name": "sample-http",
  "version": "0.0.1",
  "dependencies": {
    "axios": "^0.19.0"
  }
}
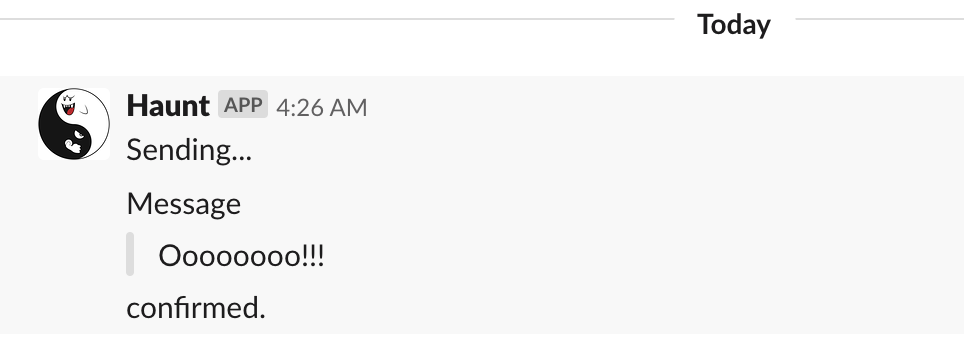
Then modify index.js to the following code. We’ll send an imediate response, "Sending...", followed by a confirmation or error message to the response_url given to us by slack.
const axios = require('axios');
const webhookUrl = 'YOUR WEBHOOK URL';

exports.haunt = (req, res) => {
  const body = req.body;
  console.log(body);
  const text = body.text;
  const data = { text };

  axios({
    method: "POST",
    url: webhookUrl,
    data,
  }).then(res => {
    axios.post(body.response_url, {text: `Message\n>${text}\nconfirmed.`})
  }).catch(err => {
    console.log(err);
    axios.post(body.response_url, {text: `Message\n${text}\nfailed!`})
  });

  res.status(200).send("Sending...");
};
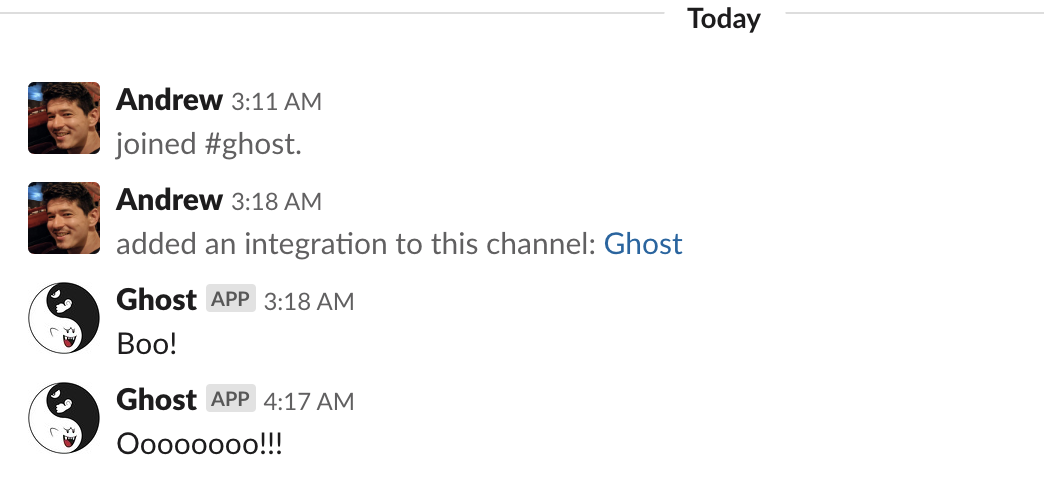
Hit “Deploy” at the bottom of the page, and wait for the deploy to finish. Once it does, head back to Slack and try out your slash command again!
Success!
And the confirmation message
Listen Up
So far we’ve just created a way to send messages. We also need to be able to receive them! To do this, first let’s go ahead and set up another Cloud Function that will handle these messages. I’ll create a function called ‘abigstick-watch’ with the following code.
exports.watch = (req, res) => {
  res.status(200).send(req.body.challenge);
};
Bear with me; once we put this URL into our Slack app it will immediately attempt to verify it by sending it a challenge parameter and it will verify the URL if it receives the same challenge back.
Once this function is created, we’ll go back into our “Ghost” app settings (that’s the on in the target workspace), click into “Event Subscriptions”, and turn this feature on. Paste in the http trigger from the function created above, and you should see the URL verification method, confirming that our function sent back the challenge. If it fails, you can always hit “retry” after fixing the errors.
Now add subscriptions to the following events:
- message.im (for direct messages)
- message.groups (for private channel messages)
- message.channels (for public channel messages)
- message.npim (for multi-party direct messages)
Save changes.
Don’t get freaked out (or excited about) the “private channel” thing – your used authorizes the app and it only has access to the authorizing user(s) private channels.
As stated on that page, you also need to add the associate OAuth scopes:
- im:history
- groups:history
- channels:history
- npim:history
Click into “OAuth & Permissions”, scroll down to “Scopes” and add these four scopes. You’ll notice that the “incoming-webhook” scope has already been added by our actions above.
Hit “Save Changes”, and you’ll see a big warning banner across page telling you you need to reinstall your app. This will happen any time you changes your app’s scopes, and it will post a message about this change to a channel of your choosing. If you choose a channel different from the webhook we set up above, it will also add a webhook to that channel. You can keep that additional webhook or delete it.
Now that the event subscriptions are in place, we’ll change the code of our function to do something useful with them. Again, first, let’s just log it to see what it looks like. Change the function’s source code to
exports.watch = (req, res) => {
  body = req.body;
  console.log(body)
  res.status(200).send("ok");
};
Once deployed, go back into Slack, in the target workspace, and type in a message (easiest place to test is in your self-channel).
View the result in the function’s log:
{ token: '[---REDACTED---]',
 team_id: '[---REDACTED---]',
 api_app_id: '[---REDACTED---]',
 event:
  { client_msg_id: '[---REDACTED---]',
    type: 'message',
    text: 'Hello?',
    user: '[---REDACTED---]',
    ts: '[---REDACTED---]',
    team: '[---REDACTED---]',
    channel: '[---REDACTED---]',
    event_ts: '[---REDACTED---]',
    channel_type: 'im' },
 type: 'event_callback',
 event_id: '[---REDACTED---]',
 event_time: 1568375967,
 authed_users: [ '[---REDACTED---]' ] }
The relevant info for regular text messages is body.event.text, body.event.channel, and body.event.user. Let’s broadcast this over to our hidden workspace. To do this, we need to allow incoming messages to our hidden workspace. We could do this with a webhook like we did at the target workspace, but that’s so one page ago. Let’s use Slack’s chat.postMessage API method! This method will actually allow us to more advanced things like route messages to difference channels without setting up a webhook for each channel.
In order to use this API endpoint, we’ll need an authorization token. Our app actually already has one but not with the correct permissions associated. To get them, we need to request the “chat:write:bot” scope. So head back over to the hidden workspace’s app (“Haunt”), click into “OAuth & Permissions”, scroll down to “Scopes” and add “chat:write:bot”. Again, you’ll have to reinstall the app after doing this.
Once you’ve done this, scroll up to the top of “Oauth & Permissions” and copy the OAuth token. Let’s first test it out using curl. Once again, I’ve created a destination channel for this specific purpose, which I’m calling “the-haunt”. Fortunately, Slack let you specify channels by name instead of ID when making posts using chat.postMessage:
 token=PASTE_TOKEN_VALUE_HERE
 curl https://slack.com/api/chat.postMessage -X POST -H "Authorization: Bearer $token" -H "Content-type: application/json; charset=utf-8" --data '{"text": "Hello", "channel": "the-haunt"}'
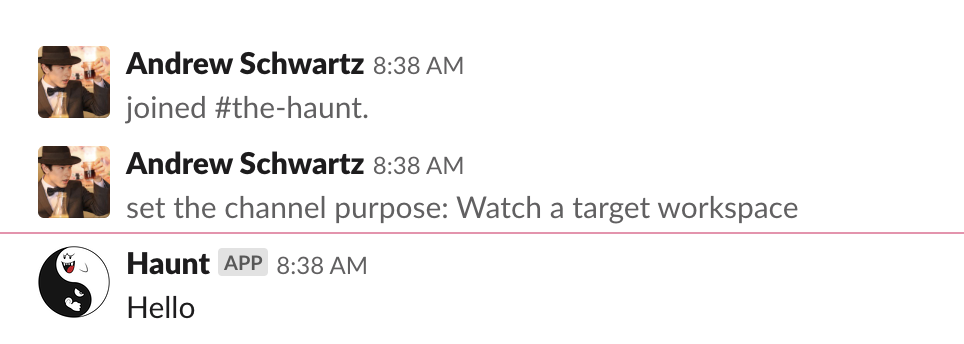
With that working, let’s now trigger it from our event subscriptions in the target workspace. Head back to out abigstick-watch function and change the code to:
 const axios = require('axios');
 const postUrl = 'https://slack.com/api/chat.postMessage';
 const token = 'NO TOTALLY DO NOT PASTE YOUR TOKEN IN PLAIN TEXT HERE';

 exports.watch = (req, res) => {
   const body = req.body;
   console.log(body)

   const { user, channel, text } = body.event;
   const data = {
     text: `*${user}@${channel}:* ${text}`,
     channel: 'the-haunt',
   };
   const headers = {
     "Authorization": `Bearer ${token}`,
     "Content-type": "application/json; charset=utf-8"
   };

   axios({
     method: "POST",
     url: postUrl,
     data,
     headers,
   });

   res.status(200).send();
 };
Look, obviously you should store your token in some secure fashion. Since we’re using Google Cloud, Secrets Management looks like a good solution. AWS has a similar service. All of that is out of scope for this walkthrough, though.
We also need to add axios to package.json, as we did for our abigstick-haunt function. Recall, that will look like this:
{
  "name": "sample-http",
  "version": "0.0.1",
  "dependencies": {
    "axios": "^0.19.0"
  }
}
With the function saved, since the Slack event subscriptions are already set up, we should be good to go!

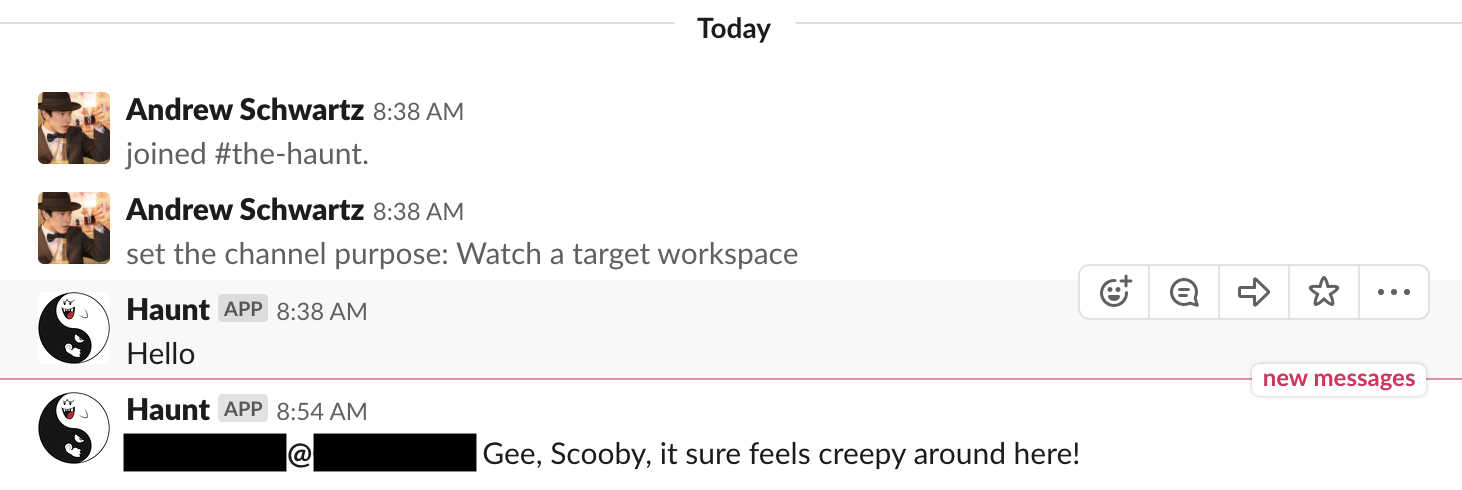
While I’ve blacked them out, if you follow along you’ll see that the user and channel are represented as IDs, not names. You can skip this next section if the IDs are good enough, or if you just want to hard code the translations into your function, but let’s fix that using the Slack API. We’re just going to do this inline even though these are static values; it would be more performant but more infrastructure to manage to store these data in some persistence layer. For now, forward.
To get access to the info we need, we need once again to add more scopes.
- users:read – for users’ names via
users.info - im:read – for direct message info via
conversations.info - groups:read – for private channel info via
groups.info - channels:read – for public channel info via
channels.info - npim:read – for multi-party direct info via
groups.info
We’ll also need to copy this app’s token for use in our function. Remeber, the token we were using before was for permission to post to our hidden workspace. This token is for the permissions lister here, which is on the target workspace.
Let’s add some functions to translate the various IDs we may get. To keep it all sorted out, let’s first list out what events from the different channel types look like.
Direct Message
event: {
  ...
  type: 'message',
  text: '...',
  user: 'UXXXX1234',
  channel: 'DXXXX1234',
  channel_type: 'im'
  ...
}
Multi-Party Direct Message
event: {
  ...
  type: 'message',
  text: '...',
  user: 'UXXXX1234',
  channel: 'GXXXX1234',
  channel_type: 'mpim'
  ...
}
Private Channel
event: {
  ...
  type: 'message',
  text: '...',
  user: 'UXXXX1234',
  channel: 'GXXXX1234',
  channel_type: 'group'
  ...
}
Public Channel
event: {
  ...
  type: 'message',
  text: '...',
  user: 'UXXXX1234',
  channel: 'CXXXX1234',
  channel_type: 'channel'
  ...
}
So we’ll switch on channel_type, and post to the following endpoints depending on its value (you can discover this by trial & error or probably by reading the docs too)
im-im.infompim-group.infogroup-group.infochannel-channel.info
As noted in the docs for those methods, we actually have to use content type application/x-www-form-urlencoded for these posts.
Armed with all that, here’s the code. We’re making a little heavier use of promises and async/await, so read up if these constructs confuse you.
const axios = require('axios');
const postUrl = 'https://slack.com/api/chat.postMessage';
const targetToken = 'OOPS I DID IT AGAIN';
const hiddenToken = 'HIT ME BABY ONE MORE TIME';

const formHeaders = {
  "Authorization": `Bearer ${targetToken}`,
  'Content-type': 'application/x-www-form-urlencoded',
};

function getUserName(userId) {
  return axios({
    method: 'POST',
    url: 'https://slack.com/api/users.info',
    data: `user=${userId}`,
    headers: formHeaders,
  }).then(response => {
    console.log('getUserName:', response.data);
    const data = response.data || {}
    const user = data.user || {};
    const profile = user.profile || {};
    return profile.display_name || profile.real_name || userId;
  }).catch(error => {
    console.error(error);
    return userId;
  });
}

function getChannelName(channelId) {
  return axios({
    method: 'POST',
    url: 'https://slack.com/api/channels.info',
    data: `channel=${channelId}`,
    headers: formHeaders,
  }).then(response => {
    console.log('getChannelName:', response.data);
    const data = response.data || {}
    const channel = data.channel || {};
    return channel.name || channelId
  }).catch(error => {
    console.error(error);
    return userId;
  });
}

function getGroupName(groupId) {
  return axios({
    method: 'POST',
    url: 'https://slack.com/api/groups.info',
    data: `channel=${groupId}`,
    headers: formHeaders,
  }).then(response => {
    console.log('getGroupName:', response.data);
    const data = response.data || {}
    const group = data.group || {};
    return group.name || group
  }).catch(error => {
    console.error(error);
    return groupId;
  });
}

function getVarChannelName(channel, channel_type) {
  switch (channel_type) {
    case 'im':
      return Promise.resolve('(IM)');
    case 'mpim':
      return Promise.resolve('(MPIM)');
    case 'group':
      return getGroupName(channel);
    case 'channel':
      return getChannelName(channel);
    default:
      return Promise.resolve(channel);
  }
}

exports.watch = async (req, res) => {
  const body = req.body;
  console.log(body)

  const { user, channel, channel_type, text } = body.event;

  const [userName, channelName] = await Promise.all([
    getUserName(user),
    getVarChannelName(channel, channel_type),
  ]);

  const data = {
    text: `*${userName}@${channelName}:* ${text}`,
    channel: 'the-haunt',
  };
  const headers = {
    "Authorization": `Bearer ${hiddenToken}`,
    "Content-type": "application/json; charset=utf-8"
  };

  const response = await axios({
    method: "POST",
    url: postUrl,
    data,
    headers,
  });
  console.log("Response:", response);

  res.status(200).send();
};
And, success!

Directed Messages
There’s just one more thing we’ll do in this post to finish up. We’ve built the ability to post to our target workspace using a slash command that posts to a webhook set up on that workspace. Let’s do one better and allow ourselves to post to any channel we have access to. To do this, we’ll ditch the webhook and instead use the same chat.postMessage API method we’ve been using to send messages to the hidden workspace. We’ll change the syntax of our command to be /haunt [CHANNEL] [MESSAGE]. For good measure, edit the slash command to display this in its help message.
So, still in the Ghost app (the one in the target workspace), add the chat:write:bot scope and reinstall. Copy the token again. Now, switching over to the abigstick-haunt function – this should be the one posting to the webhook with the very long URL – change the code to the following:
const axios = require('axios');
const token = 'OOPS I DID IT AGAIN';
const postUrl = 'https://slack.com/api/chat.postMessage';

exports.haunt = (req, res) => {
  body = req.body;
  console.log(body);
  const commandText = body.text;
  const [ channel, ...messageParts ] = commandText.split(' ');
  const text = messageParts.join(' ');
  const data = {
    channel,
    text,
  };
  const headers = {
    "Authorization": `Bearer ${token}`,
    "Content-type": "application/json; charset=utf-8"
  };

  axios({
    method: "POST",
    url: postUrl,
    data,
    headers,
  }).then(res => {
    axios.post(body.response_url, {text: `Message to ${channel}\n>${text}\nconfirmed.`})
  }).catch(err => {
    console.log(err);
    axios.post(body.response_url, {text: `Message to ${channel}\n${text}\nfailed!`})
  });

  res.status(200).send("Sending...");
};
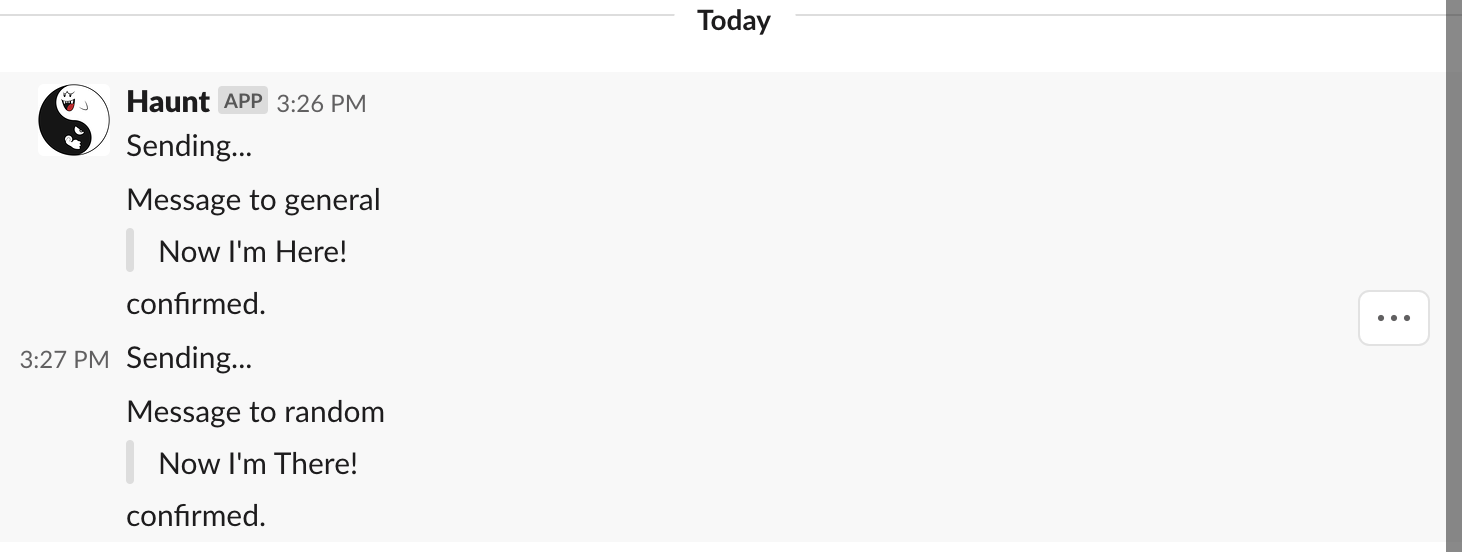
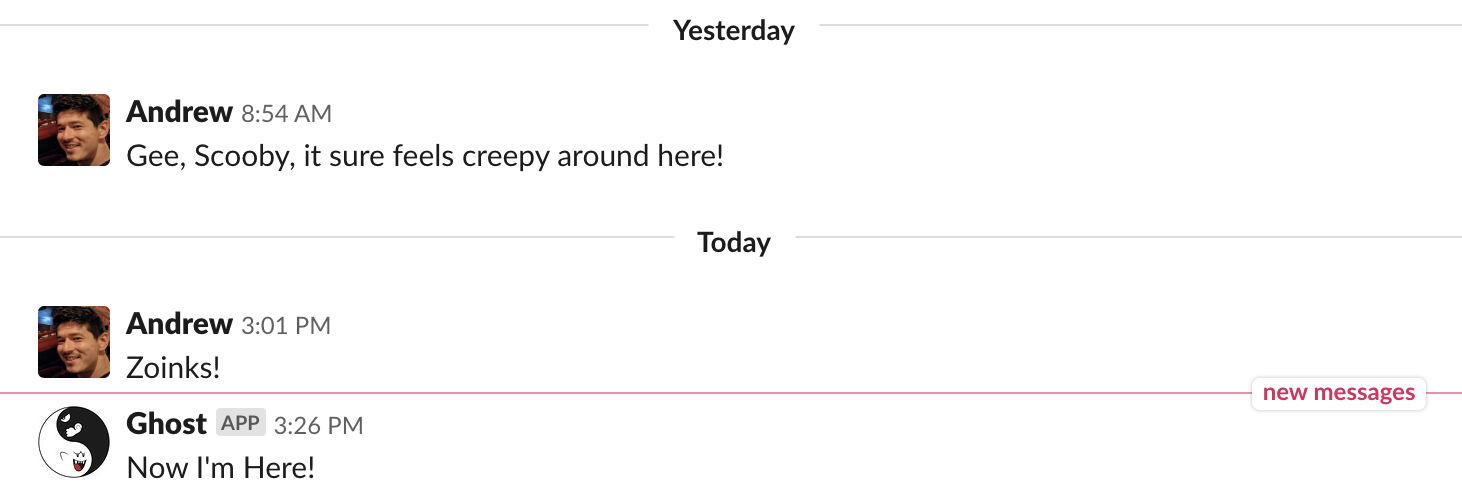
Then, typing two messages:
/haunt general Now I'm Here!
/haunt random Now I'm There!
And we have success!

Wrapping Up
Well that was a long post. In sum, we’ve created two-way communication between two Slack workspaces. To do this, we’ve done the following:
- Created an app in the target workspace called “Ghost” with the following scopes:
- channels:history – to monitor public messages
- channels:read – to get channel info (name))
- chat:write:bot – to post to a channel of our choice
- groups:history – to monitor private channel messages
- groups:read – to get private channel info (name)
- im:history – to monitor direct messages
- im:read – to get direct message info (actually we didn’t use this one)
- incoming-webhook – to post via webhook (we ultimately ditched this one)
- npim:history - to monitor multi-party messages
- npim:read – to get multi-party message into (didn’t use this one either)
- users:read – to get user info (name)
- Created an app imn the hidden workspace called “Haunt” with the following scopes:
- chat:write:bot – to post to a channel of our choice
- commands – to create slash commands (
/haunt)
- Added a slash command
/haunt [channel] [message]to the Haunt app in the hidden workspace. - Created a cloud function to monitor activity on the target workspace and send messages to the hidden workspace
- -> code
- This function needs access to tokens for both workspaces
- Created a cloud function to send messages from the hidden workspace to the target workspace
- -> code
- This function needs access to the target workspace token
There are so many possible next steps:
- Create a slash command in the target workspace to allow members to send direct messages to a user in the hidden workspace
- Alternatively, use direct messages to the app to post messages to a special channel in the hidden workspace
- Create multiple watcher channels and filter specific messages into specified channels. I.e. maybe you don’t want just a single channel combining #general, #random, and #catfails with #social and #my_project
- Allow the ghost app to monitor only specific channels to reduce noise
- Allow the ghost app to create channels in the hidden workspace to correspond to the channels it is monitoring
- Deal with attachments, files, images
- Be even spookier by using the chat.postEphemeral API method
But that’ll do fow now.